Step 1: Understand Your Canvas
Before diving into the design process, it’s essential to understand the DTF printing canvas:
- Fabric Variety: DTF works on various fabrics, including cotton, polyester, and blends.
- Color Flexibility: You can print on both dark and light fabrics without the need for pre-treatment.
- Durability: DTF prints are durable and have excellent wash resistance.
Step 2: Choose the Right Software
Using the right software is crucial for creating high-quality designs:
- Adobe Illustrator: Ideal for vector graphics.
- Adobe Photoshop: Excellent for raster images and complex designs.
- CorelDRAW: Another powerful option for vector designs.
Step 3: Start with High Resolution
Ensure your designs are created at a high resolution:
- 300 DPI: A minimum of 300 dots per inch ensures sharp and clear prints.
- Vector Graphics: Use vector formats (AI, EPS, SVG) for scalability without loss of quality.
Step 4: Color Management
Accurate color representation is key for vibrant prints:
- CMYK Color Mode: Convert your designs from RGB to CMYK, as DTF printers use CMYK.
- ICC Profiles: Use ICC color profiles specific to your printer and materials for consistent colors.
Step 5: Design with Detail in Mind
DTF printing can handle fine details, but some considerations are necessary:
- Avoid Thin Lines: Lines thinner than 1mm may not print well.
- Bold Fonts: Use bold, clear fonts for text to ensure legibility.
- Layering: Organize your design in layers to make adjustments easier.
Step 6: Incorporate Bleed and Margins
Account for potential misalignments:
- Bleed Area: Include a bleed area of at least 1/8 inch around your design.
- Safe Zone: Keep important elements within a safe zone away from the edges.
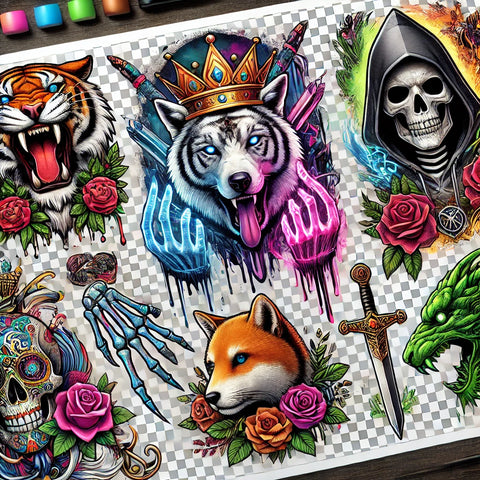
Step 7: Background and Transparency
Decide on background transparency:
- Transparent Background: Ensure the background is transparent if you don't want a white or colored backdrop.
- Solid Background: Use a solid background if it complements your design.
Step 8: Add Special Effects
Enhance your design with special effects:
- Gradients and Shading: Use gradients and shading to add depth but ensure smooth transitions.
- Textures: Incorporate textures for a unique look but test them for print quality.
Step 9: Finalize and Save
Save your design in the right format and resolution:
- Preferred Formats: Save your design as PSD (Photoshop), AI (Illustrator), or PDF for high-quality output.
- Backup: Always keep a backup of your original design files.
Step 10: Test and Adjust
Before going into full production, test your design:
- Sample Prints: Print a sample to check for any issues with colors, details, or alignment.
- Adjustments: Make necessary adjustments based on the sample print to ensure perfection.


